This article outlines the process for pouring, mixing, and curing table epoxy. It also discusses possible problems with table epoxy. Ultimately, you’ll have a beautiful table that will stand the test of time. Whether you’re a beginner or an expert, this guide is the place to start when you’re looking to create a beautiful table.
Pouring table epoxy
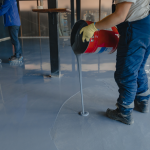
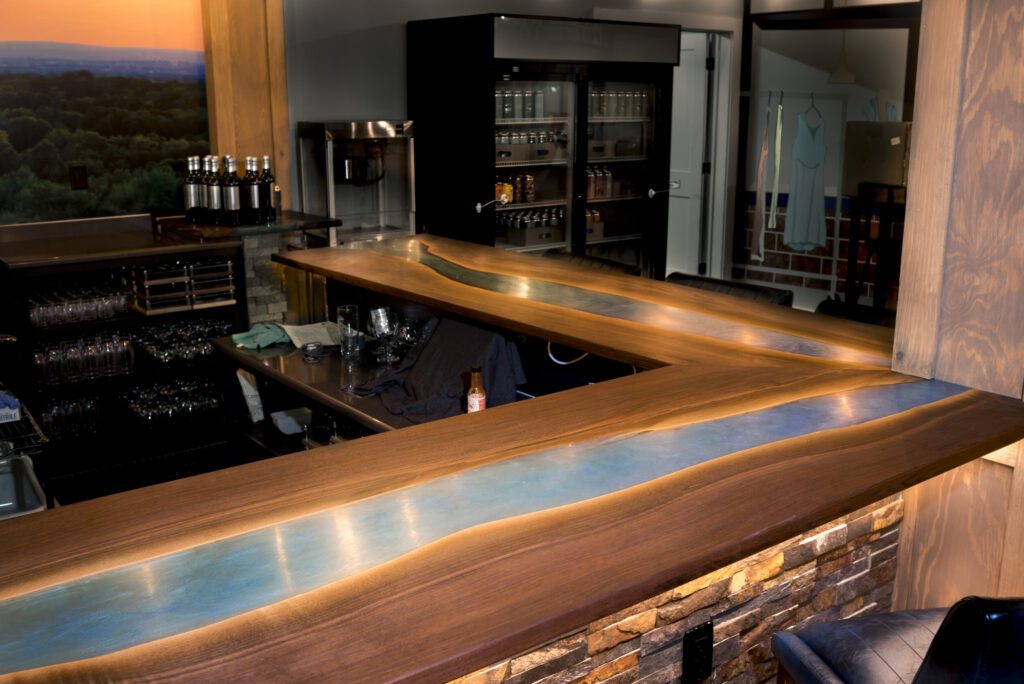
Pouring table epoxy is a two-part process used for hardening a wooden surface. It is often used on bar tops and restaurant tables. The epoxy is a liquid and should be thoroughly mixed to ensure that there are no bubbles. Once the epoxy is mixed, it should be poured slowly onto the surface. If air bubbles form during the pouring process, use a heat gun to pop them with a few inches of heat from above.
Before you pour the epoxy resin, you must make a mold out of MDF boards. The mold should be an exact size to ensure a perfect cast. Be sure to measure carefully and make sure your board is 15mm thick. After preparing the mold, you can then attach side panels and secure them using screws or hot glue. The sides and base can then be glued together and sealed using clear sanitary silicone.
The epoxy resin should be mixed at the proper ratio. A 2-cup measuring cup is ideal for mixing epoxy. Mix the resin and hardener together and stir for two to three minutes. If the epoxy is too thick, use a level to level the surface. This will prevent unevenness.
Once the table epoxy has cured fully, sand the top with an 80-grit sander. It is important to remember to use eye protection and a face mask. If you cannot complete this project on your own, get help from a professional. The solutions are often different, depending on the underlying problem.
Generally speaking, the maximum depth for table top epoxy is one eighth to quarter of an inch per layer. However, if your project calls for a deeper pour than that, you can use a thicker type of epoxy, also known as casting epoxy. Casting epoxy offers a slower cure time of twenty-four to thirty-six hours.
The low viscosity of this epoxy makes it easy to work with and easy to use. This allows pouring to be precise and minimizes the risk of overpouring. It will also cure quickly.
Mixing table epoxy
The mix-table epoxy class is designed for beginners who want to learn how to mix epoxy. Experienced epoxy table makers can also benefit from this course. Before you begin, however, it’s important to have some experience in woodworking and be comfortable using power tools. This online course has a step-by-step PDF guide and video demonstrations.
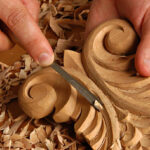
Before you begin pouring the table epoxy, it’s important to make sure that the surfaces are smooth and flat. Using an electric planer to smooth the surface of wood veneer will make it easier to mix epoxy. Make sure to remove all bark from the surface, which will help the epoxy bond. If necessary, use a chisel to cut away any remaining bark.
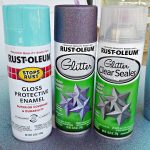
When choosing an epoxy, look for one that resists UV degradation. UV degradation can result in discoloration of the material. Resins that resist UV decay also resist heat and are heat resistant. Make sure to wear personal protective gear when handling and applying epoxy. They are also non-toxic and environmentally friendly.
Tabletop Epoxy is an excellent tabletop epoxy that is marketed as being suitable for beginners. This one-to-one ratio is very easy to use and bonds well to most surfaces. The epoxy also has great coverage and will not crack easily. You can even use this product over oil-based stains.
To make the epoxy mix, combine two parts of epoxy and let them mix. Mix the material for 5 minutes at a time, but be careful not to over-mix. If bubbles arise in the mix, use a heat gun to pop them. The heat gun should be placed a few inches above the surface. Once bubbles are gone, the epoxy will become smooth.
To use epoxy on table tops, you need to make sure the epoxy is the right temperature. Generally, the epoxy must be between 73 and 75 degrees. Moreover, you must be sure to keep your work area between 70 and 80 degrees.
Curing table epoxy
Curing table epoxy All American Woodwork is a step-by-step PDF guide that features videos and a comprehensive course outline. The PDF also includes a room for taking notes and links to most of the materials you need. The course also includes an interactive Q&A that mimics an in-person workshop.
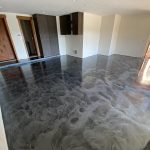
To make the best results, cure the table top epoxy in a temperature range of 70 to 80 degrees Fahrenheit. If the epoxy is too hot, it will turn yellow and will not adhere properly. If this happens, apply a clear UV-stable varnish. Also, keep hot items off the table top as it will distort the surface and cause it to discolor. You also must avoid delamination, where the epoxy does not stick to the table surface. This can indicate moisture or contamination.
To cure the table surface, you should first mix the resin and hardener. Make sure that you follow the instructions on the package for proper mixing ratio. The mixture should be thoroughly mixed. Using a drill or a paddle mixer, mix the two materials together until they are uniformly mixed.
Before applying the table top epoxy, you should clean the table top thoroughly. Ideally, it should have a consistency similar to syrup. You should then let it cool. If the epoxy hasn’t set yet, you can use a space heater or heat lamp to speed up the curing process.
The epoxy resin used for wood projects comes in several different types. Some are faster hardening and provide a glass-like finish. Others require mixing before application. The best type of epoxy resin for your wood project will depend on the purpose of the project. Some types can even be colored with pigments.
Problems with table epoxy
When preparing table epoxy, there are a number of things to consider. First, make sure you are using a quality tabletop epoxy. For best results, mix your epoxy at the recommended ratio. You can’t use too much or too little epoxy because this can affect the curing process. Excess resin and hardener can also cause problems.
The next step is to ensure the surface is smooth. If the surface is not smooth, bubbles will appear. You can use a heat gun to remove bubbles. Wave the heat gun a few inches above the surface of the epoxy and the bubbles will rise to the surface and pop.
Another common problem is an uneven hardening of the epoxy resin. This can cause tacky or dull spots. If this happens, scrape the area with fine-grained sandpaper. Then, use a microfibre cloth to clean away any debris that might be trapped in the epoxy. Using a commercial detergent mixed in water can help remove oils and stains. It also helps to check the strength of the resin and make sure you mix it properly before applying it to the surface.
If your table epoxy is too weak to fill in the cracks, you can use clear super glue to fill in the gaps and holes. To make the filling adhere to the wood, make sure the surface is completely dry. Otherwise, moisture will be trapped in the wood and can cause further rot. Then, you can use a piece of sandpaper to lightly sand the area until it matches the surrounding wood.
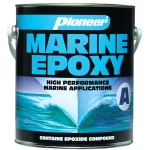
One major problem with table epoxy All American Woodwork is its inability to protect itself from the effects of ultraviolet light. As a result, your table epoxy is more vulnerable to fading and chalking. It should also be protected with a UV protectant varnish. If you’re concerned about UV stability, consider using a marine-grade polyurethane varnish.
If the first layer of epoxy is too thin, try adding a second layer. This will protect the top layer from moisture, while the second layer will help with surface imperfections. Remember to protect your eyes and face with a mask and eye protection before applying the second layer. You can also use a consolidant to make the new layers thinner. This way, you’ll have a strong and durable table epoxy that will last for years.